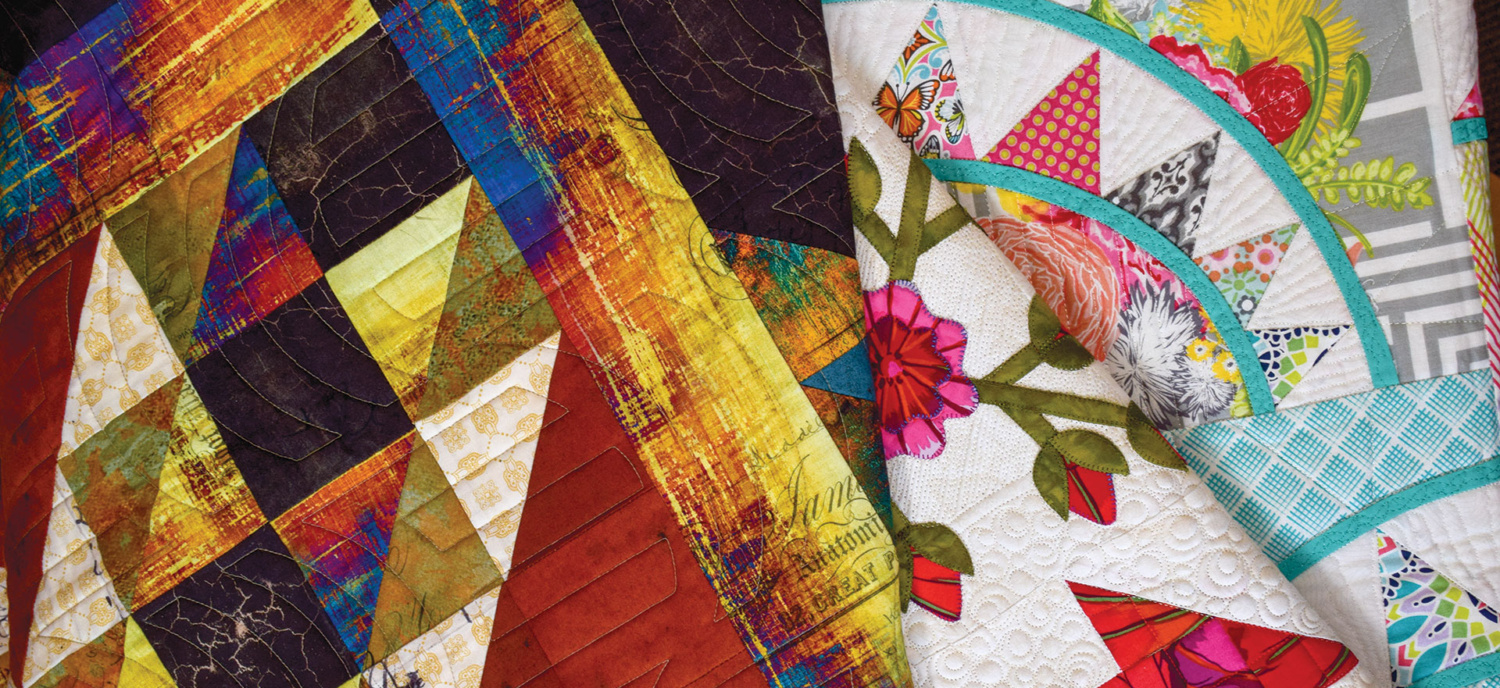
Blog

A December to Remember

A December to Remember

A December to Remember  For 19 years we have spent our winter vacation and most recently our winters in retirement at our south Texas oasis.  We call it “Manana” because tomorrow is always a day to start or finish another project—whether my sewing and quilting 

Neckties and Quilts

Neckties and Quilts

  Recently I have been sewing quilted projects with neckties and vintage textiles.  It does require some different techniques for sewing and quilting with the non-traditional  fabrics.    The bottom line for sewing with silk and silk-like tie fabrics is that it depends on what your 

Mrs White in the Kitchen with a Rolling Pin

Mrs White in the Kitchen with a Rolling Pin

It all started with Covid.  I used what I had in the sewing room to create a work that ended up being a lot of purple—or more specifically plum. With the vintage linens and vibrant tones of all things purple it became “Professor Plum in the Conservatory with a Vase”.  While there’s more to that story it did lead to an idea.  When confined to the house whether from pandemic or snow storms board games come out of the closet.  One from my memory bank was “Clue” and the characters were certainly interesting. So now, a few years past pandemic, the idea surfaces again.  This time it’s Mrs. White because I acquired a vintage kitchen towel that featured a hand appliqued maid pushing a dessert cart on a white-ish background.  The maid was dressed in a uniform that closely resembled one from my summer job at Bishop’s Buffet in downtown Des Moines.  From there the idea continued to grow into another character from the game board.  Vintage sugar sacks in my stash, a sugar crock that adorns the top of a kitchen cupboard, an embroidered kitchen towel that my mother made, and a lace tablecloth were put to good use as kitchen components.  So, what’s the construction process for this type of quilted project?

The sugar sacks were very thin fabric so after gently washing I backed them with a sheer, lightweight interfacing.  The lace tablecloth also needed to be stabilized so I used a paper-backed fusible to adhere it to the right side of a blue fabric.  The embroidered kitchen towel needed actual glasses so a light blue silk dupioni from an old dress was sacrificed.  Some vintage lace gave the appearance of shelves.  The phrase “Bon Vivant” generally refers to one who lives well, enjoying good food. It was done using paint and hand made stencil. Since the maid was serving dessert, it seemed appropriate to have a pie and rolling pin. Throw in some eggs to fill in space, add a bouquet of bright blue flowers and I’m ready to move on to another character.  Will it be Miss Scarlet or maybe Colonel Mustard?  The ideas are percolating (why didn’t I use a coffee pot for the vase of flowers)!


Fabric Dyeing Workshops

Fabric Dyeing Workshops

  Update: May 30 workshop changed to May 29 due to river bridge closure to all traffic. Color By Design Workshop June 12 or 13, 2025 / 9:30am – 3:30pm / $75 Limit: 6 students per session Check out the fabric dyeing workshop I offer 

A New Leaf

A New Leaf

As spring brings forth the new green I am inspired to try a new to me technique.  Taking a simple leaf shape and dividing it into sections is an easy way to then pull all those small green scraps (or in my case pullling from 

Banded Geese My Way

Banded Geese My Way

Banded Geese My Way

Banded geese is my way of giving a new twist to the traditional Flying Geese block.  I did see another version on the internet and tried the method suggested. Having made a lot of FG blocks in the traditional way I knew there was a different (and for me, easier) way to get the same result. I share the process I use here and ask that, if you choose to use this method, you honor the work done to write instructions and share my website so that others may enjoy the various quilt projects that I’ll be sharing as I develop more size options.  I would love to see what you choose to make as well.

Please check out the Summer 2025 issue of Love of Quilting magazine when it is available in May for the instructions/pattern on a finished table runner using this process.  A pattern for a table topper will be available on my Etsy site soon (etsy.com/shop/posielanelinens)

Banded Geese My Way

Sharon Wasteney, Something Stitched

Finished block size 3” x 6”

Photo Steps to make banded flying geese blocks using the 4-at-a-time method:

(1) 7 ½” square main fabric, (2) 2” x 13” strips of accent and (4) 4” squares background for each block.

Also need Deb Tucker’s Wing Clipper ruler and a 7 1/2″ square ruler (I use Creative Grids)

Cut in half diagonally; insert accent strip; cut in half diagonally; insert second strip.


Tip: Sew with accent strip on top so you are sewing with the straight grain rather than bias edge.


I use a 7 1/2” square ruler (Creative Grids) to center and square up the inserted block.  If using a different size ruler, I suggest masking off a 7 ½” square to ensure the square is centered from the center of the accent inserts.


Proceed to make the 4-at-a-time flying geese using the 4” squares. Using this set of measurements means the blocks need to be trimmed to a cut finish of 3 ½” x 6 ½”. (I use the Deb Tucker Wing Clipper tool to make accurate blocks.)


Join geese as needed for project design.


Get those creative juices going for an actual quilt.  I will be developing the featured design into a pattern soon.


I hope you enjoy making Banded Geese My Way

Sharon


Texas Treasure

Texas Treasure

Texas Treasure   I designed a quilt that is featured in the Texas Shop Hop 2025 magazine.  I titled it Texas Treasure after one of the two blocks used in the quilt.  Texas Treasure quilt block that I chose to use was identified by Nancy 

MIstakes: challenge or Opportunity

MIstakes: challenge or Opportunity

Mistake: Challenge or Opportunity I set out to make a simple pinwheel quilt so grabbed the specialty ruler and began cutting triangles from the colorful fabric I had selected.  I sewed block after block to make the triangle into a square to be pieced.  Ready 

More on Patio Pots Quilt

More on Patio Pots Quilt

In May I posted my quilt Patio Pots, but am adding to it for those who may like a little more info.

For many years I collected shot cotton stripes with most from the Kaffe Fasset Collective.  One rainy spring day when I couldn’t plant my outside flower pots an idea came to me.  I had been cutting small tumbler pieces from scrap fabrics and decided a larger template would be more to my liking for the flower pots I envisioned using those lovely stripes.

A template is not needed for this simple shape. Start with a 10” precut or cut your own.

On the bottom edge measure in 2” from either side and make a diagonal cut to the upper corner on the same side. If using stripes you may wish to alternate the stripes from vertical to horizontal for more interest.  (KFC florals would make great pots also.)


Make as many pots as you wish. I have 5 in each row and 5 rows.

Edge pieces are simply the template as shown above cut in half vertically.  I add the edge pieces to each row before completing row construction.


The easiest way to make the flowers for your pots (before you sew rows together) is to fussy cut from florals in your stash. I keep a shoe box of possibilities already fused with paperbacked fusible to choose from. Leaves were free form cut, stems were from some leftover bias binding and are about 6.5 inches long. Many more flowers could be added as desired.  Plant your pots as you choose. It would also be a fun table runner with flower pots at each end of the runner.


Arrange your pots in rows and proceed to finish the project as with any quilt.


In the early spring a printed/PDF pattern will be available in my Etsy shop that will give you a variation and more creative ideas for your own Patio Pots. If you will subscribe to my website you will receive notification each time I post which is, unfortunately, not real frequent but does keep you in the loop for my patterns and designs.

Enjoy!!


Idea, Plan, Finish

Idea, Plan, Finish

One of my all-time favorite quotes is by Louisa May Alcott.  When I was learning calligraphy in a college class I practiced my skills on this quote, “Far away there in the sunshine are my highest aspirations.  I may not reach them but I can